Blog
DIY Wedding Invitations: A Step-by-Step Guide
Making your own invitations saves money, but the fear is that they end up looking homemade or that a typo reaches 100 guests. DIY wedding invitations look professional when you follow seven steps: wording, layout, type, paper, a test print, cutting and assembly.
Making invitations from scratch is a craft project with a deadline. The table below shows the whole job before you start, so you can see where the hours go.
| Step | What to do | What to watch for |
|---|---|---|
| 1 | Write and check the wording | One wrong date reaches every guest |
| 2 | Lay out a 5 × 7 in card, two to a Letter sheet | Text too close to the cut edge |
| 3 | Choose fonts and type sizes | Script text too small to read |
| 4 | Choose paper and envelopes | Square envelopes cost more to mail |
| 5 | Print one test sheet | Scaling in the print dialog |
| 6 | Print the run and cut on the crop marks | Cutting too many sheets at once |
| 7 | Assemble the suite and address the envelopes | Mixing up the order of the cards |
Step 1: Write the wording and get it checked
Every invitation answers four questions: who is hosting, what the event is, where it is and when. The Emily Post Institute's guide to wedding invitations lists exactly those, and adds the city and state of the venue. In formal wording the date and the year are spelled out, as in "two thousand twenty-seven".
Write the lines in this order. Start with the hosting line, such as "Together with their families". Then the request line, your two names, the date and time, the venue with its city and state, and a closing line about the reception. Keep the back of the card for a short note or your monogram.
Leave gifts off. Emily Post's list of invitation dos and don'ts says registry or gift information should not go with the invitation at all. Hotels, a map and your wedding website belong on a separate details card.
For complete wording examples by who is hosting and how formal you want it, see wedding invitation wording. Before you lay anything out, have two people read the text against your venue contract. Check the day of the week against the date.
Step 2: Lay out a 5 × 7 in card two to a Letter sheet
A 5 × 7 in card fits twice on one US Letter sheet (8.5 × 11 in) when you turn both cards sideways and stack them. The two cards make a block 7 in wide and 10 in tall. That leaves a 0.75 in margin on the left and right and 0.5 in at the top and bottom. Two cards per sheet means 50 sheets for 100 invitations.
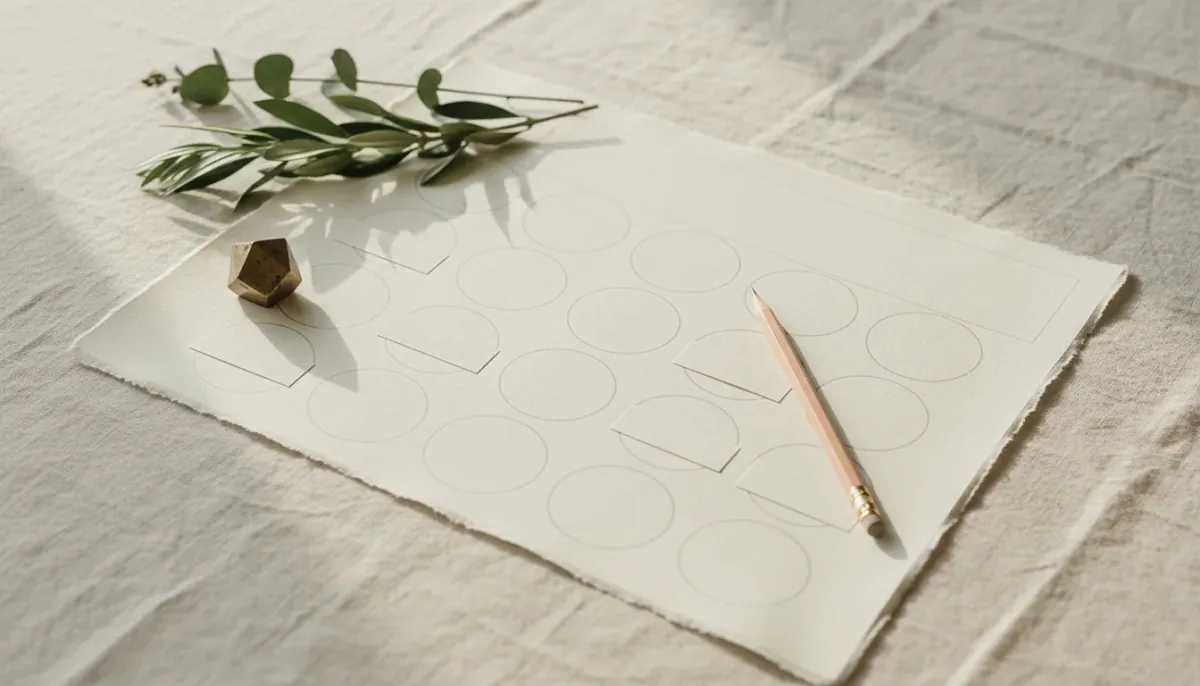
Any program that lets you set a custom page size will do. Design one card first at 5 × 7 in. When it is right, place it twice on a Letter page, rotated, with the edges touching. Touching edges mean one cut serves both cards, so each sheet needs five cuts.
Draw crop marks in the margins: short lines that continue each cut edge but stop before they touch the card. Keep all text and artwork at least 0.25 in inside the cut edge. Cuts drift a little, and text right at the edge looks crooked. Most home printers cannot print right to the edge of the paper, so leave a white border around the card.
Stacking the cards sideways also helps with the back. When you print two-sided with flip on long edge, each back lands behind its own front. Check that on the test sheet in step 5.
Step 3: Choose fonts and type sizes guests can read
Use two fonts at most: a script for your names and a plain serif or sans serif for everything else. Set your names large, often 30 pt or more in a script, because thin script strokes disappear at small sizes. Keep script out of the date, time and address.
Body text should be 12 pt or larger. The American Alliance of Museums' Accessible Communications Guidelines set twelve-point as the minimum for standard printed materials. The same guidelines ask for mixed upper and lower case in body text rather than all capitals, and matte paper to reduce glare. Your guest list likely includes grandparents, so those rules apply.
Use dark text on light paper. Pale gold or blush text on ivory can look washed out once printed. Read each font's license before you use it on printed invitations, because the terms differ from font to font.
Step 4: Choose paper and envelopes
Print on cardstock between 80 and 110 lb cover, which is about 216 to 300 gsm. Check the label says "cover", because 80 lb "text" paper is far thinner. Choose a smooth matte finish in white or ivory. Look up the heaviest paper your printer takes before you buy a full pack.
Buy envelopes made for 5 × 7 in cards, often sold as A7. Slide a card in before you order 100. The card should go in and come out easily without bending.
Skip square envelopes for mailing. USPS physical standards for letters treat a letter as nonmachinable when its length divided by height is less than 1.3. A square envelope has a ratio of 1. The USPS price list charges a $0.49 nonmachinable surcharge on each such letter. The same standards also make a piece nonmachinable if it is too rigid, so a thick stack of heavy cards can trigger the charge too.
Buy about one sheet in ten extra and a few extra envelopes. Tests, jams and an address you write wrong all use them.
Step 5: Print one test sheet first
Print a single sheet on your real cardstock before the run. The settings that matter are Actual size (100%), the paper type set to cardstock or heavy matte, and flip on long edge for the back. The full walk-through, including copy shops and online printers, is in print wedding invitations.
Hold the test sheet up to a window to check that the back lines up with the front. Measure one card between the crop marks. It must be exactly 5 × 7 in. Then read every line aloud with someone who has not seen the text before.
Step 6: Print the run and cut on the crop marks
Print in batches of about ten sheets and watch for streaks or pale color. Lay the sheets flat until the ink is dry to the touch before you stack them.
Cut with a rotary or guillotine paper trimmer, not scissors. Line the blade up with two crop marks on the same edge. Cut two or three sheets at a time at most, because heavy card shifts in a thicker stack. Make the long cuts first, then the short ones. With five cuts per sheet, 50 sheets need 250 cuts if you go one sheet at a time.
Step 7: Assemble the suite and address the envelopes
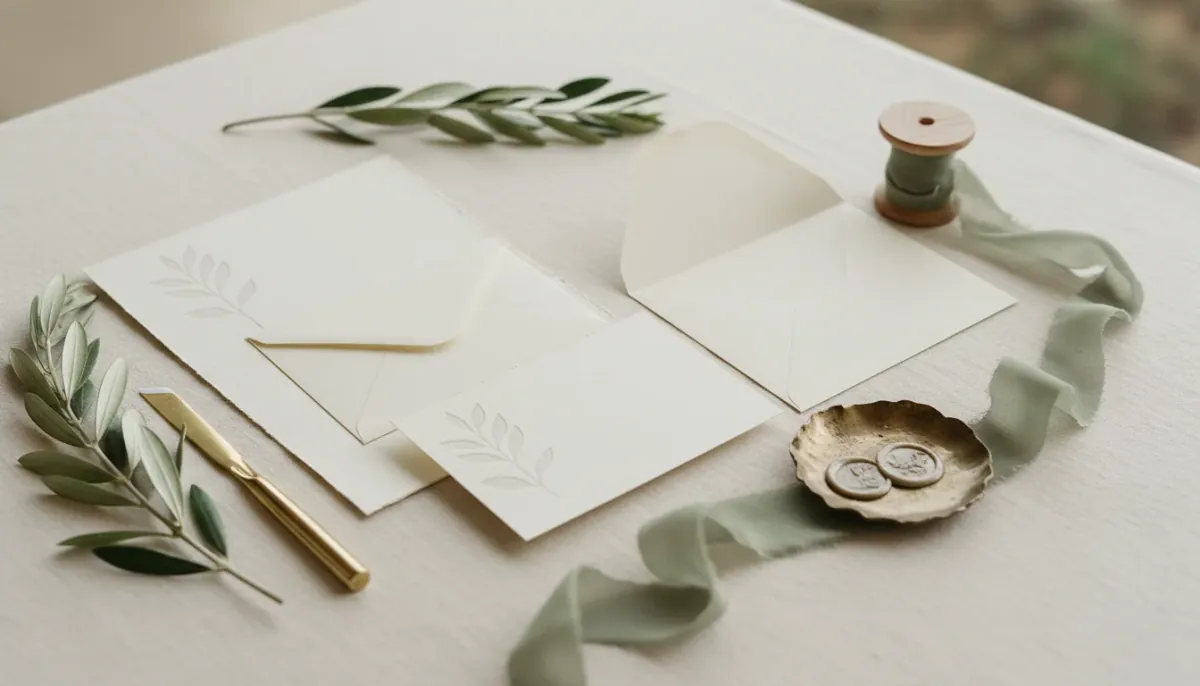
Assemble every envelope the same way. The usual order puts the invitation at the back, face up, with the smaller cards on top: the details card, then the RSVP card tucked under the flap of its own stamped envelope.
Set up a line on a big table. Etiquette advice from the Emily Post Institute suggests arranging the pieces in stacks in the order you will pick them up, and asking friends or family to help. It also says to address wedding invitation envelopes by hand rather than with labels. Write the names in full with the right titles, and ask a guest how they spell their name when you are unsure.
Weigh one full envelope on a kitchen scale before you buy stamps. Heavy cardstock and extra cards add weight fast. On the USPS price list, a stamped letter up to 1 oz costs $0.82 and up to 2 oz costs $1.11. The RSVP envelope needs its own stamp on top.
How long DIY wedding invitations take for 100 guests
Our planning estimate for a first-time maker doing 100 invitations with an RSVP card and a details card comes to 13 to 20.5 hours. Each line is built from the time one piece takes, so you can adjust it to your own speed.
| Task | How we worked it out | Hours |
|---|---|---|
| Wording, checking, proofreading | Drafts plus two readers | 2 to 3 |
| Layout and type, first time | One card, then the sheet and crop marks | 3 to 5 |
| Test prints and fixes | Two or three test sheets | 1 |
| Printing 50 sheets, both sides | About 1 to 2 minutes per sheet with hand feeding | 1 to 2 |
| Cutting | 250 cuts at about 15 to 20 seconds each | 1 to 1.5 |
| Assembling | About 1 to 2 minutes per envelope | 2 to 3 |
| Addressing by hand | About 2 to 3 minutes per envelope | 3 to 5 |
| Total | 13 to 20.5 |
Spread over three or four evenings plus a weekend, 13 to 20 hours of invitation work is a comfortable plan. Squeezed into the last week before the mailing date, it is a lot. Two people working together cut the assembling and addressing time roughly in half.
Work back from the mailing date. The Emily Post Institute's 1 to 3 months planning checklist says to mail invitations six to eight weeks before the wedding. Our rule of thumb is to start about four weeks before that mailing date, which is 10 to 12 weeks before the wedding. Order paper and envelopes in the first week, so they arrive before your test print. If your reply-by date pulls the mailing date earlier, when to send wedding invitations shows how to count back from it.
What 100 DIY invitations cost
The money side is easier to see with numbers. The prices below are example prices, the same ones we use in wedding invitations on a budget. Replace them with the prices on your own paper pack, ink cartridge and envelope box.
| Item for 100 invitation cards | Example price | Cost |
|---|---|---|
| Cardstock, 55 sheets (50 plus one in ten extra) | 30 cents a sheet | $16.50 |
| Ink, 110 printed sides | 25 cents a side | $27.50 |
| A7 envelopes, 100 | 20 cents each | $20.00 |
| Before postage | $64.00 | |
| Stamps, 1 oz letter | $0.82 each (USPS) | $82.00 |
In this example, a printed order saves you money only if 100 finished cards with envelopes cost less than $64. Ask for that total, including shipping. A matching RSVP card and details card add paper, ink, a second envelope and a second stamp. A paid font adds its own price.
The invitation is the first piece of your wedding a guest holds in their hands.
When making invitations from scratch is the wrong choice
DIY from scratch is the wrong route if the mailing date is less than two weeks away and you have never set up a print layout. It is also the wrong route if you want letterpress, foil or color right to the edge, which a home printer cannot do. Then a print shop order is the honest answer.
The part of the work that takes skill is steps 2 and 3, the layout and the type. The part that just takes hours is printing, cutting, assembling and addressing. You can hand off the first part and keep the second.
Save time: get the layout ready-made
If you love the idea of making your invitations yourself but not the hours at a layout program, a template does steps 2 and 3 for you. That takes the 3 to 5 hours of layout and type off the estimate above, for $8 per design. Our ready-made 5 × 7 in wedding invitation templates you fill in and print come in four designs: Olive Grove, Meridian, Copperplate and Wild Pampas. After you pay, a download link arrives by email. You open the personalizer page from the downloaded folder in Google Chrome on your computer, type your names, date and wording, watch the preview and click Download PDF. The PDF has two cards to a Letter or A4 sheet with crop marks, ready for your own printer. Each design also comes with a filled example and a blank version as PDF, so you see the finished card before you type a word. The page works offline, and nothing you type is uploaded. You still print, cut and assemble the cards yourself.
Frequently asked questions
How to DIY your own wedding invites?
Write the wording and have a second person check it. Lay out a 5 × 7 in card two to a US Letter sheet with crop marks. Use a script font only for your names and keep the rest at 12 pt or larger. Print on 80 to 110 lb cover cardstock, test one sheet at Actual size, then print the run, cut on the crop marks with a trimmer and assemble each envelope in the same order.
How do you properly write a wedding invitation?
Say who is hosting, what the event is, where and when it takes place. Spell out the names in full and give the city and state of the venue. In formal wording, the date and the year are spelled out. Leave registry and gift information off the invitation entirely, and move extra details such as hotels or the website to a separate details card.
How to create your own wedding invitation suite?
Start with the invitation, then make the RSVP card and the details card with the same fonts, colors and paper so the three look like one set. A common set is a 5 × 7 in invitation, a smaller RSVP card with its own stamped envelope, and a details card. Stack them from largest at the back to smallest at the front before they go into the outer envelope.
Is it actually cheaper to DIY wedding invitations?
In money, usually yes. With example prices of 30 cents a sheet of cardstock, 25 cents of ink per printed side and 20 cents an envelope, 100 invitation cards cost about $64 to make before postage, so a printed order is only cheaper if it costs less than that with envelopes. In time, it costs a lot: plan on about 13 to 21 hours for 100 invitations from wording to addressed envelopes. Postage is the same whichever way you make them: $82 for 100 at the $0.82 one-ounce stamp.
Conclusion
DIY wedding invitations are a real project, about 13 to 21 hours for 100 when you count everything from the first draft to the last addressed envelope. The steps that matter most are the ones people skip. Get the wording checked by a second person, lay the card out two to a Letter sheet with crop marks, keep body text at 12 pt or larger, and print one test sheet before the run. Do that, and your invitations will look like you meant every detail. If the hours are the problem, a ready-made template takes the layout and type off your list.
Sources
- Emily Post Institute, Wedding Invitations 101 (2026)
- Emily Post Institute, Wedding Invitation Dos and Don'ts (2026)
- American Alliance of Museums, Accessible Communications Guidelines (2021)
- United States Postal Service, Mailing Standards (DMM) 101: Physical Standards (2026)
- United States Postal Service, Notice 123: Price List (2026)
- Emily Post Institute, Wedding Planning: 1-3 Months In Advance (n.d.)