Blog
How to Print Wedding Invitations: Home, Copy Shop or Online
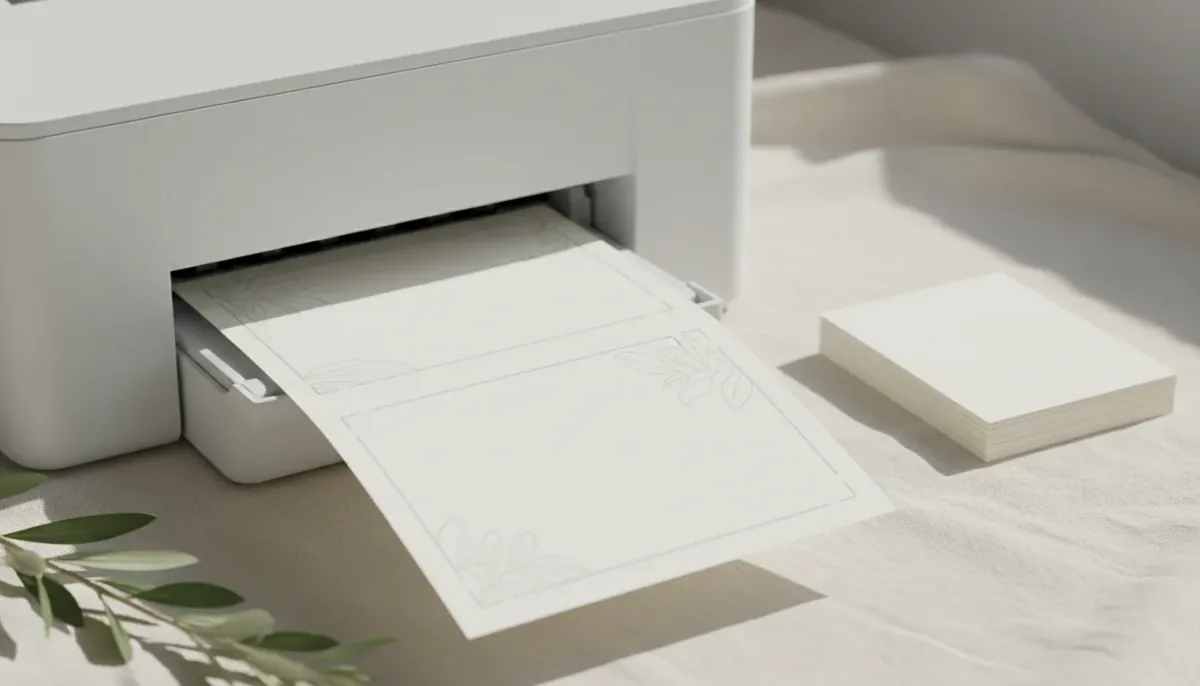
The invitations are written and the date is close, and the worry now is a run of fifty sheets that comes out faded, too small or crooked. To print wedding invitations well, you need the right file for where you print, cardstock between 80 and 110 lb cover, three printer settings and one test sheet before the run.
Good printing starts before you open the print dialog. The order below follows the job: settle the file, decide where to print, pick the paper, set the printer, test, print, cut.
| Step | What to do | What to watch for |
|---|---|---|
| 1 | Make the print file at the right size | A file built for screens prints blurry |
| 2 | Decide where to print | Each place wants a different file |
| 3 | Choose cardstock | "Cover", not "text", on the label |
| 4 | Set the printer | Actual size (100%), paper type, flip on long edge |
| 5 | Print one test sheet | Measure the card with a ruler |
| 6 | Print the run | Let the ink dry before stacking |
| 7 | Cut on the crop marks | A few sheets at a time on a trimmer |
Step 1: Make the print file at the right size
Your print file has to be the card's real size, 5 × 7 in for most invitations. A picture that looks sharp on a phone can still print soft. The University of York's guide to images for printed posters puts it plainly: an image that looks fine on screen may not look fine in print. The usual rule is 300 dots per inch for print. The University of Wisconsin's campus photography guide asks for at least 300 dpi for print and 72 for screens.
For a 5 × 7 in card, 300 per inch means 1,500 × 2,100 pixels. Anything smaller gets stretched by the printer, and small type goes fuzzy first. A PDF is safer than an image for home printing. Text in a PDF stays sharp at any size.
Our 5 × 7 in wedding invitation templates give you both files. You fill in the card on a personalizer page in Google Chrome on your computer. Download PDF saves it two to a sheet on US Letter or A4, or as a single card for a print shop. It also saves the card as a JPG at 300 ppi, 1,500 × 2,100 pixels.
Step 2: Decide where to print wedding invitations
You have three places to print wedding invitations: your own printer, a copy shop, or an online printer. The right one depends on how many you need, how much time is left and how much cutting you want to do. Each one wants a different file.
| Home printer | Copy shop | Online printer | |
|---|---|---|---|
| Best for | Up to about 100, full control | 100 or more, short on time | A special paper or finish |
| File to bring | PDF, two cards per Letter sheet | Letter PDF, or one card as a PDF | One card at exact size, front and back |
| Paper | Cardstock you buy | Their cover stock | Their paper list |
| Cutting | You, with a trimmer | Often offered for a fee | Done for you |
| Time | One afternoon | Ask when you order | Production time plus shipping |
| Risk | Faded color on cheap settings | Scaling at the counter | No test sheet in hand |
Online printers often ask for the front and the back as two separate files. Some also ask for "bleed", a little extra artwork past the edge that gets trimmed off. Read the printer's file guide before you upload. If your design has a white border, it often needs no bleed at all.
Step 3: Choose cardstock between 80 and 110 lb cover
Wedding invitations look right on cardstock between 80 and 110 lb cover, which is about 216 to 300 gsm. 80 lb cover feels like a good greeting card. 110 lb feels thick and stiff in the hand.
Read the label closely. Paper sold as "80 lb text" is much thinner than "80 lb cover", even though the number is the same. Look for the word cover, or compare the gsm number instead.
Pick a smooth matte finish in white or ivory. Matte takes inkjet ink evenly and does not shine under reception lights. Before you buy 110 lb, look up the heaviest paper your printer takes in its manual. Many home printers feed heavy card more reliably from a rear or manual tray, one sheet at a time.
Buy about one sheet in ten extra. A run of 50 sheets needs a few for the test and a few for jams.
Step 4: Set the printer before you press Print
Three settings decide most of the result. Get these right and the rest is easy.
- Actual size (100%). Never "Fit to page" or "Shrink to fit". Those options scale the sheet down, and the card comes out a little smaller than 5 × 7 in.
- Paper type. Choose cardstock, heavy matte or matte photo paper in the print dialog. Plain paper settings put down less ink, which is where faded color comes from. Set quality to high or best.
- Two-sided printing. For a card with a back, choose flip on long edge. If your printer has no automatic two-sided printing, print all fronts, turn the stack over as the printer's manual shows, and print the backs.
Step 5: Print one test sheet and measure it
Print a single sheet on the same cardstock you will use for the run. Then take a ruler to it. The card between the crop marks should measure exactly 5 × 7 in. Check that the back lines up with the front when you hold the sheet up to a window.
Read every word on the printed card, out loud, with a second person. Names, the date, the day of the week and the venue address are where mistakes hide. Typos are much easier to see on paper than on a screen.
A test sheet costs one piece of cardstock. A wrong run costs fifty.
Step 6: Print the run and let the ink dry
Print in small batches of ten sheets or so. Watch the first few for streaks or a pale color. Heavy card can jam, so stay near the printer.
Lay the printed sheets out flat, side by side, until the ink is dry to the touch. Inkjet ink on cardstock can smudge if sheets touch too soon. If a sheet comes out with a smear, set it aside and reprint it at the end.
At a copy shop, hand over the PDF and say "Actual size, 100%, double-sided, flip on long edge, on your heaviest matte cover stock". Ask to see the first sheet before they print the rest. Ask whether they can cut on the crop marks for you.
Step 7: Cut on the crop marks with a paper trimmer
Crop marks are the short lines just outside each card's corners. They show exactly where to cut. Line the blade up with two marks on the same edge and cut straight through.
A rotary or guillotine paper trimmer gives straight edges that scissors cannot match. Cut two or three sheets at a time at most, because heavy card shifts in a thicker stack. Make the long cuts first, then the short ones. Hold the paper down firmly next to the blade on every cut.
Keep the offcuts until you are done. If a card comes out crooked, you can see on the offcut which side moved.
When printing at home is the wrong choice
Home printing is not the right route for every couple. Letterpress, foil and ink right to the edge of a dark card are beyond an ordinary printer. Need 200 cards in two days with no trimmer? A copy shop that prints and cuts will save you a long night. Planning to edit on a phone, with no computer that runs Google Chrome? Then our personalizer is the wrong tool for you.
For everyone else, home or copy-shop printing keeps every step in your hands. Still need the invitation itself? See our printable 5 × 7 in wedding invitation templates in four designs: Olive Grove, Meridian, Copperplate and Wild Pampas. After you pay, a download link arrives by email. The folder holds the personalizer, a filled example and a blank PDF.
What paper, ink and envelopes add up to for 100 invitations is worked out in wedding invitations on a budget. Making the whole card yourself, from wording to layout, is covered in DIY wedding invitations.
Frequently asked questions
Where is the best place to print my wedding invitations?
It depends on the number and the finish you want. A home inkjet that takes cardstock is fine for a small run and gives you full control. A copy shop is faster for 100 or more, and many can cut for you. An online printer suits you if you want a special paper or finish and have time for production and shipping. Whichever you pick, give them the file they ask for: a Letter PDF for home and most copy shops, a single card at exact size for online printers.
What weight of paper is best for wedding invitations?
Cardstock between 80 and 110 lb cover (about 216 to 300 gsm). 80 lb feels like a sturdy greeting card and feeds through most home printers. 100 to 110 lb feels heavier in the hand, but check your printer's manual first, because not every printer takes it. Make sure the label says cover, not text: 80 lb text paper is much thinner.
Can I print my own wedding invites?
Yes. Print them on cardstock at Actual size (100%), with the paper type set to cardstock or heavy matte and the back set to flip on the long edge. Print one test sheet, measure the card with a ruler, then print the run and cut on the crop marks with a paper trimmer.
What kind of paper do I need to print wedding invitations?
A smooth matte cardstock, 80 to 110 lb cover (216 to 300 gsm), in white or ivory. Matte takes inkjet ink evenly and does not shine under lights. Buy about one sheet in ten extra for the test print and for mistakes.
Conclusion
Printing your own wedding invitations comes down to a few decisions made in the right order. Pick where you print first, because that decides the file. Use cardstock between 80 and 110 lb cover. Print at Actual size, set the paper type, and flip on the long edge for the back. Print one test sheet, measure it, and only then print the run. Cut on the crop marks with a trimmer, a few sheets at a time, and you get clean, square cards that look like they came from a stationer.